Finally part 2 of the Silver Pony mess. So, in Part I, I discussed the completion of the kit, and decided to proceed with the finishing in a different way. Needless to say, the result was less than optimum… actually, more like a total disaster. Well maybe not that bad, but pretty bad. Well, that’s how you learn. Try often, fail often. At least I know what not to do for next time!
Alright, since the pedal is called the Silver Pony and is a Klon Centaur clone, I wanted to pay an homage to the original by trying to duplicate the polished aluminum look of the Klon Centaur. My idea was to sand the enclosure and give it an industrial control panel look by stamping all the controls and pedal name, etc. So here’s how it went.
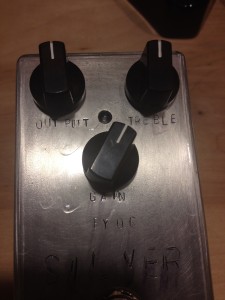
I started by wet-sanding the enclosure with 400grit sandpaper, and worked my way up to 1000. Lookin’ not bad at this point. I lay out the letters I want and from top left CC: Output, Treble, Gain in caps in small letters. I draw some pencil lines to get them straight and get to stamping. For the stamps, I used some hardened case steel stamps I bought at Harbor Freight. If you look at the photo below, the surface is irregular and now thinking about it, should’ve worked that one from 80 grit to level it out.

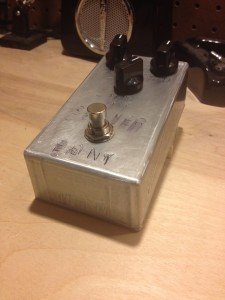
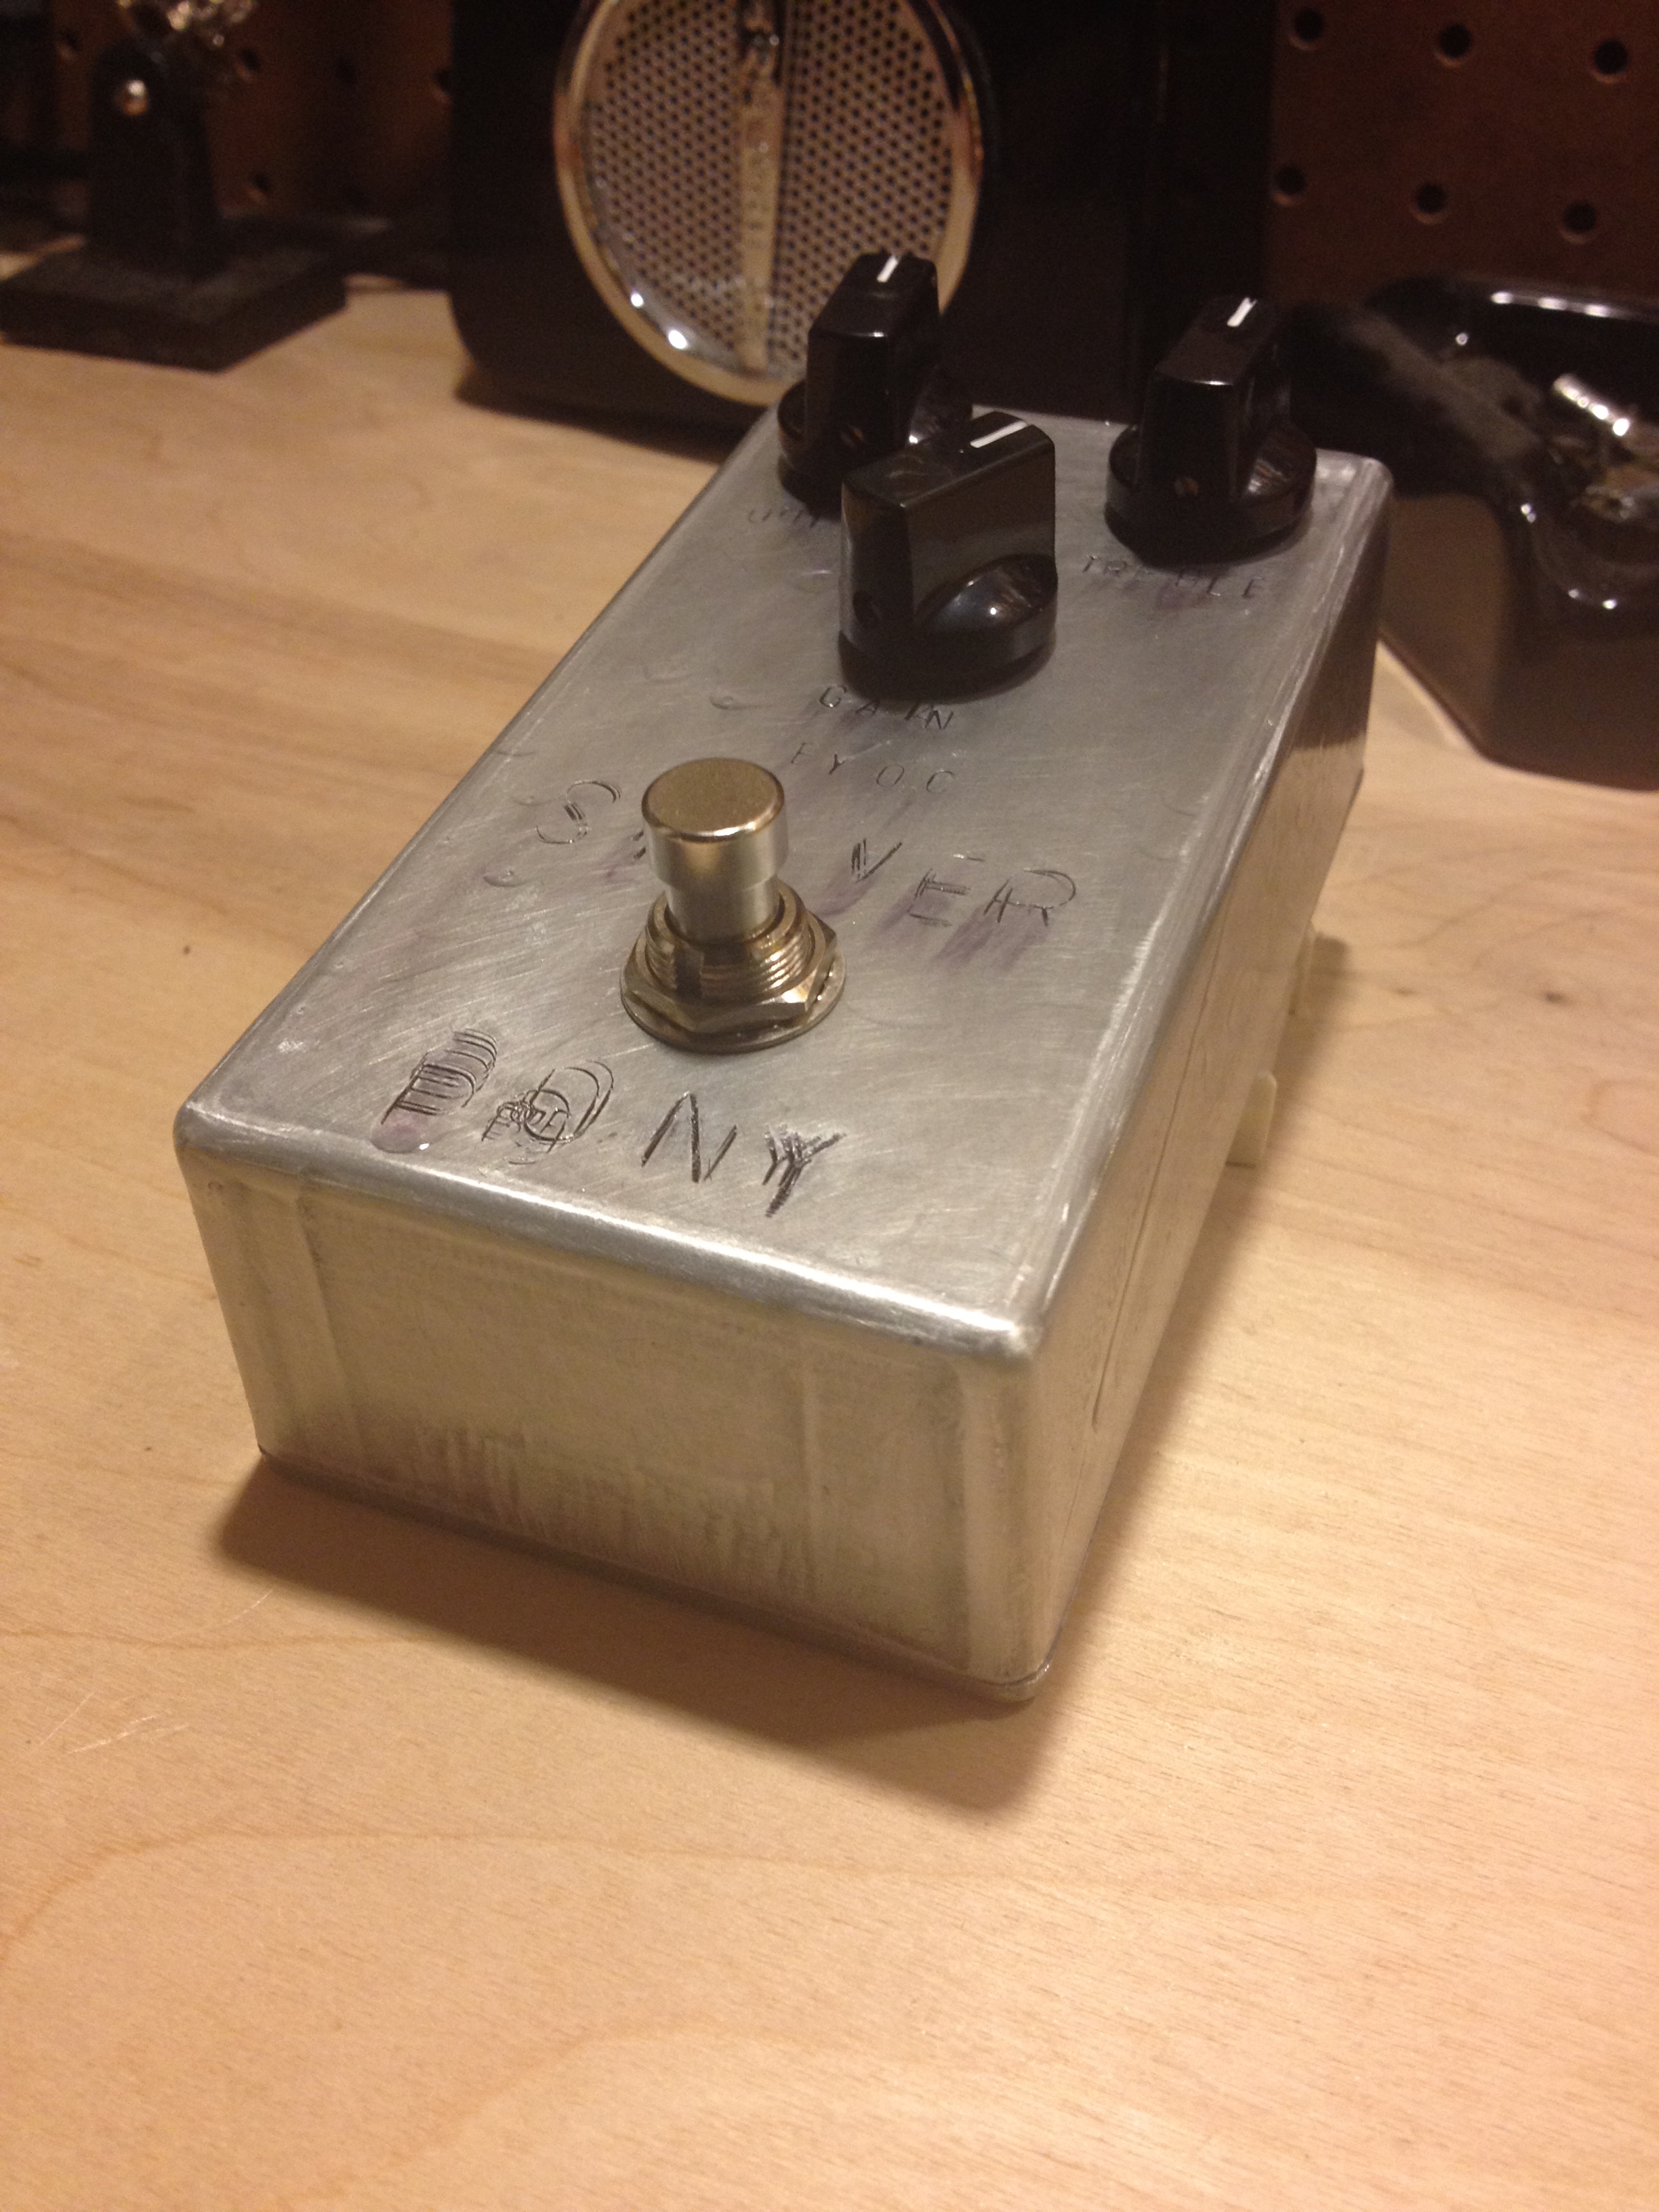
First learning mistake: When you’re hammering on a soft metal enclosure, have something that’s equally as hard or harder under it, otherwise the enclosure will dent. In retrospect, I should’ve used an anvil or something like it. So there you go, slightly deformed enclosure, and since I didn’t get straight on and deliberate hammer strikes, uneven stamping. Dammit. Move on to the next one, repeat, slightly better results.
Second learning mistake: Obvious fail. If you look closely at the pedal, the word GAIN is spelled GIAN. I was able to more or less correct it by doing some adjustments to the letters, hence not being very even, but at least the misspelling is camouflaged somewhat.
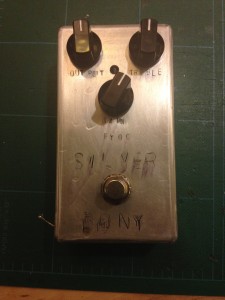
Third learning mistake: Stamping the BYOC in the same stamp size as the controls and the SILVER PONY name in some bigger ones. Bad strikes on the small letters not getting even impressions. Since the bigger ones require more stamping pressure, they didn’t come out great, either. I tried to stamp over them again with not very good results, ending with my registration being off and it looks like someone took an electric typewriter and retyped over the words but with the registration slightly off. Argh!

Fourth learning mistake: Alright. Now i know what not to do, and it’s not so horrible so I can live with it. I take a SHARPIE and color in the letters so I can get some black in there, and wipe off the excess. Looks pretty OK. I let that dry, and now, I’m going to clear coat the whole thing with some gloss clear enamel. If you’re a body/paint man or engraver, you’re already feelin’ me. First of all, the surface is too smooth, so the enamel does not stick (remember, i sanded it down to 1000 and it’s unprimered). It starts running all over the place, and also, dissolving the marker ink in the process making a runny mess underneath. nononononono….
At this point, I have a couple options. Get a new enclosure and start over, sand this one down and try to salvage it, or let this one dry and just throw it on the board and play it. The end result, is that it may not be the prettiest, but it sure has a great sound and works real well with the rest of the rig. There you go!


